If you love personalized, sparkling footwear, hotfix rhinestones are the perfect choice to upgrade ordinary shoes into stylish custom pieces. Many beginners wonder how hotfix rhinestones stick firmly to shoes and how to avoid falling off, blistering, or uneven sticking. Unlike ordinary glue-on rhinestones, hotfix rhinestones rely on heat-activated back adhesive to form a strong bond with shoe surfaces, featuring higher durability and a flatter fit. This article will explain the working principle of shoe hotfix rhinestones, required tools, detailed operation steps, and professional tips for long-lasting adhesion, suitable for sneakers, canvas shoes, leather shoes, and other common footwear materials.

What Are Hotfix Rhinestones & How Do They Work on Shoes?
Hotfix rhinestones are special decorative crystals with a layer of thermosensitive hot melt glue on the flat bottom. The core principle of shoe hotfixing is heat activation + pressure bonding + cooling shaping. When heated to a specific temperature, the bottom glue layer melts slightly, penetrates the tiny pores on the shoe surface, and closely fits the shoe material under even pressure. After natural cooling and solidification, the rhinestones are firmly fixed on the shoes, with strong tensile resistance and wear resistance.
This hot-melting bonding method is far more reliable than manual glue sticking. It avoids uneven glue application, white glue overflow, and easy peeling after washing or friction, making it the mainstream process for shoe rhinestone decoration in handmade DIY and factory mass production.
Essential Tools for Shoe Hotfix Rhinestone
You do not need professional industrial equipment for DIY shoe hotfixing. The basic tools are simple and easy to get, with two optional heating tools for different scenarios:
- Hotfix rhinestones/hotfix rhinestone transfer sheets: Single loose hotfix rhinestones for custom patterns, and pre-arranged transfer sheets for batch and neat patterns
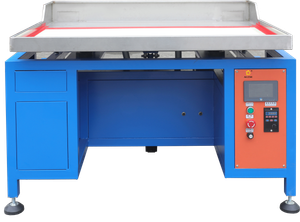
- Heating tool (choose one): Household flat iron (no steam, adjustable temperature) or dedicated hotfix rhinestone applicator pen; industrial users can use a small heat press machine
- Auxiliary tools: Alcohol cotton pads, dust-free cloth, painter’s tape, tweezers/wax pick-up pen, parchment paper/Teflon high-temperature resistant cloth
Step-by-Step Guide to Iron Rhinestones on Shoes
Follow this standard process to ensure the rhinestones are flat, firm, and non-falling, suitable for all shoe materials including canvas, PU leather, and leather.
Step 1: Clean and polish the shoe surface (key pre-treatment)
Dust, oil stains, and sweat on the shoe surface will directly cause weak adhesion and falling rhinestones. Wipe the decorative area thoroughly with an alcohol cotton pad, remove surface dust and grease, and let it dry completely. Use painter’s tape to cover areas that do not need decoration to avoid accidental scalding or staining.
Step 2: Design and position rhinestones
Plan the pattern layout in advance. For loose rhinestones, use a wax pen or tweezers to arrange the rhinestones neatly on the shoe surface with the flat adhesive side facing down. For finished hotfix transfer sheets, tear off the bottom paper and align the patterned side with the shoe surface, adjust the position accurately, and avoid offsetting.
Step 3: Heat and pressure bonding (core step)
Lay a piece of parchment paper or high-temperature resistant cloth on the rhinestones to prevent direct high-temperature scalding, scratch damage, and glue overflow contamination.
Household iron operation: Adjust to cotton gear (140℃-160℃), turn off the steam mode completely. Press evenly for 15-20 seconds for small rhinestones and 20-30 seconds for large rhinestones. Do not slide the iron back and forth to avoid rhinestone displacement. For factory heat press, perform segmented pressing: first press 15-20 seconds with the drill facing up, pad a sponge and press again, then reverse and empty press to ensure even glue melting.
Step 4: Cooling and shaping, check firmness
After heating, do not move or touch the rhinestones immediately. Let the hot melt glue cool and solidify naturally for 3-5 minutes. After complete cooling, gently tear off the transfer film (for transfer sheets) and slightly poke the rhinestones to check adhesion. If individual rhinestones are loose, reheat and press them separately to reinforce firmness.
Professional Tips for Long-Lasting Shoe Hotfix Rhinestones
- Temperature control is critical: Too low temperature leads to un-melted glue and easy falling; too high temperature will burn the shoe surface, cause glue overflow and yellowing of rhinestones. Ordinary domestic rhinestones adapt to 140℃-150℃, and high-quality imported rhinestones adapt to 160℃-200℃.
- Material adaptation adjustment: Canvas shoes can bear medium temperature and positive pressure; leather and PU leather need lower temperature and shorter pressing time to avoid material damage.
- Post-use maintenance: Do not scrub or machine wash the shoes within 24 hours after hotfixing to ensure complete glue curing, which can greatly extend the service life of rhinestones.
- Uniform pressure: Uneven pressure will cause partial virtual sticking. Always press steadily and fix the shoe position to avoid sliding during heating.
Common Mistakes to Avoid in Shoe Hotfixing
- Using steam iron: Steam will dilute the hot melt glue, resulting in permanent weak adhesion
- Moving rhinestones before cooling: Causes displacement and virtual sticking
- Skipping surface cleaning: Dust and oil lead to large-area falling off later
- Overheating or over-pressing: Damages shoes and causes glue overflow residue
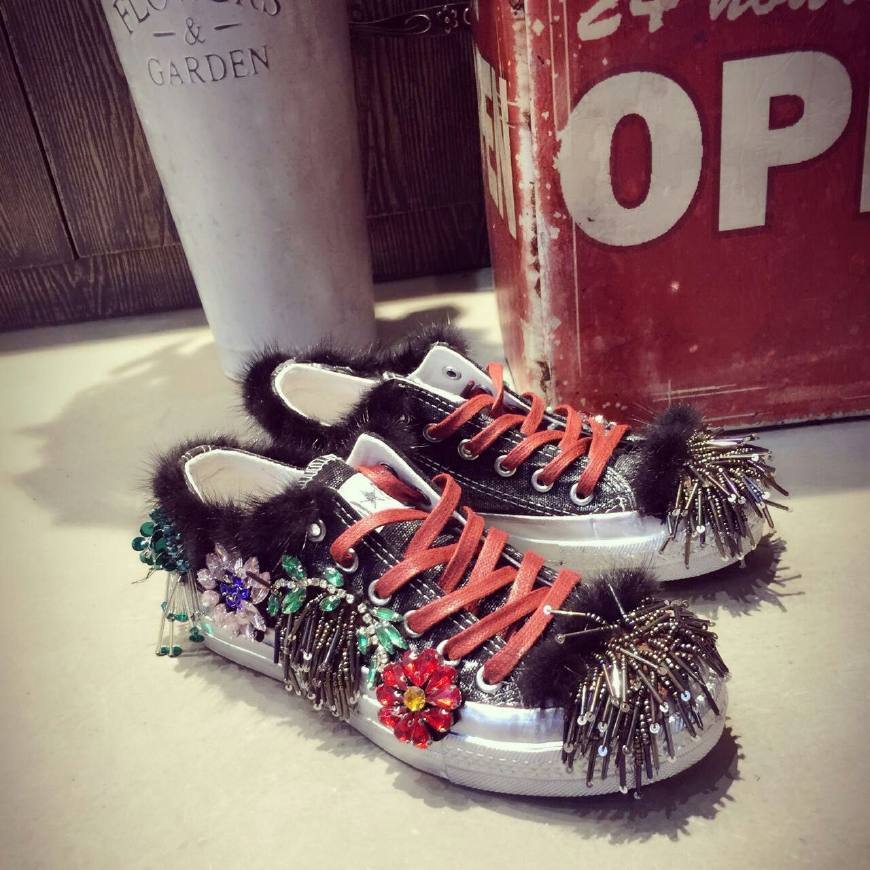
There are many bling garment accessories such as rhinestones, rhinestone patches, rhinestone sheets, sequin patches, etc. Welcome to our homepage to find more surprises!
E-mail: [email protected]
What’s App: +86 15999938111